Why the Squat Is the King of Exercises
If you only had time for one exercise, the squat would be a strong contender. It hits your quads, glutes, hamstrings, core, and even your upper back. Done well, it builds raw strength, athleticism, and muscle. Done poorly, it can wreck your knees and lower back. The good news? Squat form isn't a mystery. It's a small set of rules that, once you nail them, become second nature.
The Setup: Where Most Beginners Go Wrong
Form starts before the bar moves. Walk up to the rack, place yourself under the bar, and decide on a position:
- ✅ High bar: The bar rests on top of your traps. Slightly more upright torso, more quad-dominant.
- ✅ Low bar: The bar sits across your rear delts. More forward lean, more posterior chain (hips, hamstrings).
For beginners, high bar is usually easier to learn. Grip the bar slightly wider than shoulder-width, squeeze your shoulder blades together, and unrack with confidence. Take two steps back, no more.
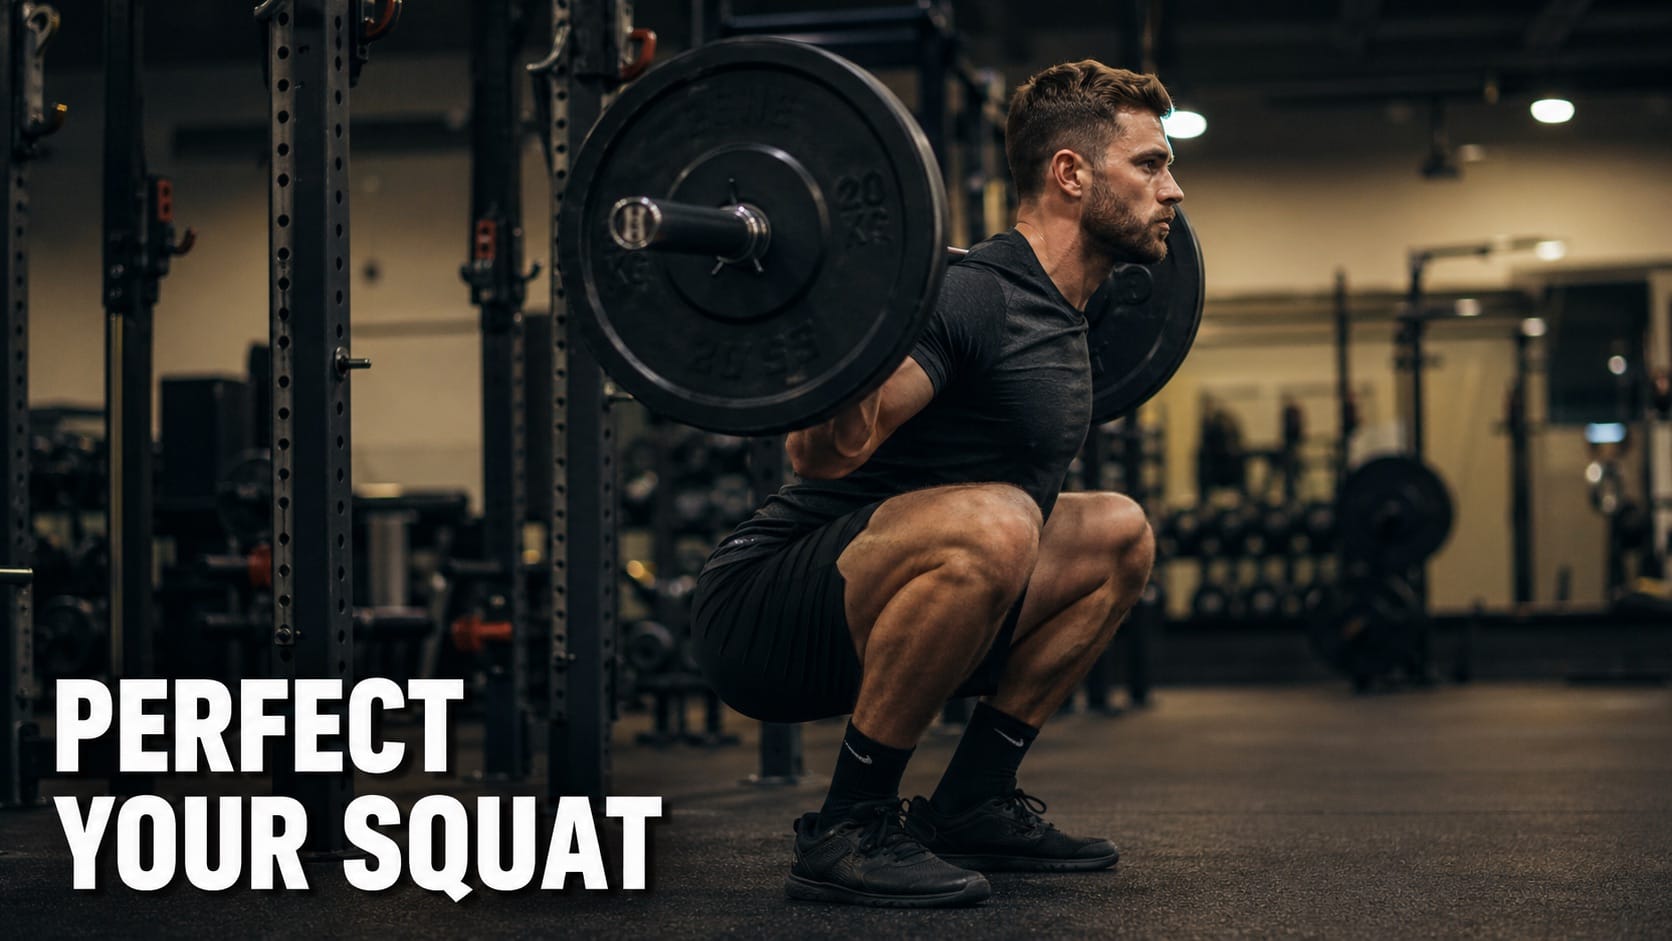
Stance and Foot Position
Set your feet roughly shoulder-width apart, with your toes pointed outward 15 to 30 degrees. This isn't a strict rule. People with longer femurs may need a wider stance. The test: can you reach proper depth without your back rounding? If not, widen your stance or rotate your toes out a touch more.
Push your weight into the middle of your foot, not the toes or heels. Imagine spreading the floor apart with your feet. This activates your glutes and locks your arch in.
The Descent: Hips, Knees, and Spine
Take a big breath, brace your core like you're about to take a punch, and start the descent by pushing your hips back and bending your knees at the same time. Don't sit straight down or shoot your butt back first. Hips and knees move together.
- ✅ Knees track over toes: They should travel in the direction your feet are pointed, not collapse inward.
- ✅ Spine stays neutral: Slight natural curve, no rounding at the bottom (the dreaded "butt wink").
- ✅ Chest up: Imagine showing a logo on your shirt to the wall in front of you.
Descend until your thighs are at parallel to the floor or just below. Going below parallel actually recruits more glute activation, but only go as deep as you can while maintaining a neutral spine.
The Ascent: Driving Out of the Hole
Push the floor away. Drive through your mid-foot, keep your chest up, and stand up by extending your hips and knees together. Don't let your hips shoot up first while your chest dips forward. That's the classic "good morning squat" and it puts your lower back in a bad spot.
Exhale once you're standing or near the top. Reset your breath and brace before the next rep.
Breathing and Bracing
Bracing is what protects your spine under load. Here's the pattern:
- Inhale deeply into your belly (not your chest) at the top of the rep
- Brace your core hard, as if you're about to be punched in the stomach
- Hold that breath through the descent and ascent
- Exhale at the top, then reset
This is called the Valsalva maneuver. It creates intra-abdominal pressure that supports your spine. Without it, your lower back has to do the stabilizing alone, and that's how injuries happen.
The 5 Most Common Squat Mistakes
- ❌ Heels lifting: Usually a mobility issue. Fix by working on ankle mobility, or wear lifting shoes with a raised heel.
- ❌ Knees caving in (valgus collapse): Weak glutes. Cue: "spread the floor" with your feet.
- ❌ Squatting too shallow: Robs you of glute and hamstring development. Hit at least parallel.
- ❌ Forward chest dive: Often caused by weak upper back or mobility issues. Keep your chest tall.
- ❌ Lower back rounding: Stop the rep. Reduce depth or weight until you can stay neutral.
How to Progress as a Beginner
Don't load up the bar before you've earned it. Build the movement pattern first:
- ✅ Week 1-2: Bodyweight squats. 3 sets of 10. Get the depth and pattern down.
- ✅ Week 3-4: Goblet squats with a single dumbbell held at your chest. Adds load while keeping form honest.
- ✅ Week 5+: Empty barbell back squats. Then add small increments (5-10 lbs) per session.
Tracking your weights and reps every session shows whether you're actually progressing. A free app like Easy Reps makes that quick: log your sets, see your trend, repeat.
How Often Should You Squat?
Two or three times per week is the sweet spot for most beginners. Squatting more often helps you groove the movement pattern, and beginners recover faster than advanced lifters. Don't burn out chasing PRs every session. Mix heavy days (sets of 5) with lighter, higher-rep days (sets of 8-12).
Your Squat Journey Starts Here
The squat rewards patience. Beginners who spend a month perfecting form usually outpace those who rush to heavy weights and develop bad habits. Focus on depth, bracing, and tracking. The numbers will follow. Want a simple way to log every squat session and watch your strength climb? Download Easy Reps free and start logging today. Your future PR is just a few months of clean reps away. 💪